The Payment History tab will display payments the customer has made by year, along with the invoices that the payment was applied to.
To begin, select the year of payment history that you want to view by clicking the arrow and highlighting and clicking on the year. Selecting All from this menu will display every payment that you have received from the customer in Inform. If you select this option for a large customer, it may take a few moments to gather the data.
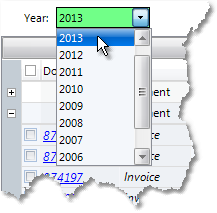
Once you select the year, the payment information will display in the table below. Each payment displays with a document number. For payments received by check, this will be the check number. Payments received by cash or credit card will display cash or credit card as the document. Click on the ![]() to the left of the Document field to view the invoices that the payment was applied to. Click on any of the headings below to learn more.
to the left of the Document field to view the invoices that the payment was applied to. Click on any of the headings below to learn more.

Sorting, Filtering, and Arranging Columns
The columns on the lower half of the Customer Ledger can be rearranged and the information that they display can be filtered and sorted.
•To move a column, click on the column heading and drag it to the right or left. You will see two vertical arrows display where the column will be placed as you move your mouse pointer (shown below). Release your click to drop the column.
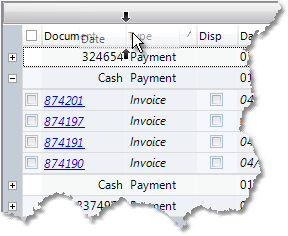
•To sort the information displayed, click on the column heading. Clicking once will sort the information in ascending order, click again to sort the information in descending order. The column used to sort the information will display a small triangle in the right corner (shown below).

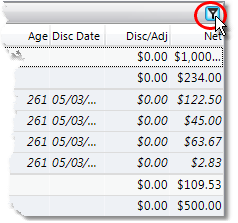
•To filter the view to display only certain information, click on the small triangle button in the right corner above the results (shown below). This will display the filter row directly below the headers.
The filter row allows you to enter the criteria that will be used to filter the invoices displayed. For example, if you want to only display invoices with a Balance greater than or equal to $100, click in the row below the Balance column and enter the dollar amount. You can click on the greater than or equal to symbol to select different criteria options (shown below).
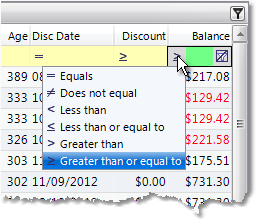
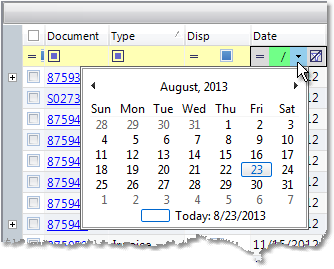
When you are using date fields for your selection criteria, hovering over the field will display an arrow for a drop down calendar (shown below). You can also manually type in the date. Date fields default to use "equal to" as the criteria; this can be changed by clicking on the equal sign and selecting a different option from the drop down menu.
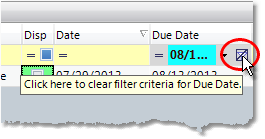
Clear a filter by hovering over the field and clicking on the clear filter button to the right of the criteria (shown below).
Print, Fax, or Email Invoices