Prospective accounts and contacts can be imported and updated from a spreadsheet. Inform uses the Company Name and Billing Zip Code to match contacts and information to existing Prospect Accounts to prevent duplication. Your spreadsheet must contain the Company Name and Billing Zip Code to be used through the Prospect Import screen.
Once you have imported your accounts and contacts, you can market to them through the Inform Marketing Manager, quote them through the Sales Order screen, and schedule tasks and events for them through the Prospect Master and Contact screens. For more information, see the Prospect Master screen.
Importing Prospects
1.Select CRM > Prospect Import.
2.First, indicate if the spreadsheet you will be importing has header information in the first row, such as the words "Company Name", "Address", etc. If your spreadsheet has headers, check the Has Header Data box to the right of the Template field. This prevents the header row from being imported as data.
3.Click on the folder button in the File Name field to browse for the appropriate file on your computer. We recommend using a CSV spreadsheet file, but XLS spreadsheets are also supported.
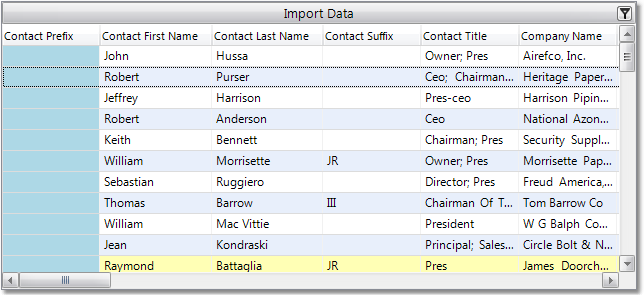
4.Information from the spreadsheet will be listed in the Import Data section at the bottom of the window (shown below). If your spreadsheet has headers, the header information will be displayed at the top. If your spreadsheet does not have header information, the column letter will be displayed at the top of each column.

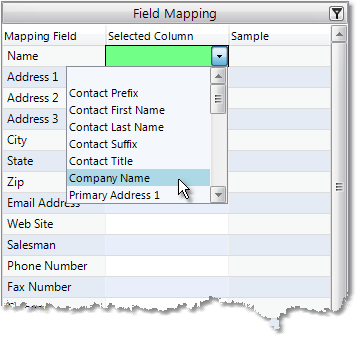
5.The Field Mapping section on the left side of the window displays all of the available fields that you can import data into. Map the column on the spreadsheet to the corresponding here by clicking and dragging the header from the Import Data section to the appropriate field. You can also choose the appropriate column from the drop down menu in the Selected Column field. If your spreadsheet contains header data, the name of each header will appear in the drop down. If your spreadsheet does not have header data, the letter of each column will appear in the drop down menu.

6.The Name and Zip fields must be mapped. This is to prevent duplicate prospect accounts from being created. If the Name and Zip Code match, the system will update any missing information from the spreadsheet. Existing information will not be deleted if there are blank fields on the spreadsheet.
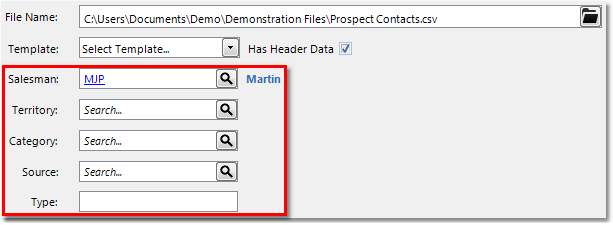
7.Use the fields listed above the Import Data section to fill out blank spreadsheet fields. For example, if you want to assign all of the imported prospect accounts to a Salesman, but that salesman is not included in a column on the spreadsheet, the Salesman field can be used to fill out this information (shown below).

8.Once you have mapped all of the necessary fields, click the Import button. If the Import button is not enabled, be sure that the Name and Zip fields are mapped, as this information is required to prevent duplication. If you have not used a template, the system will prompt you to save the mapping as a template for the next import. If you do not want to save this as a template, click the No button in this window.
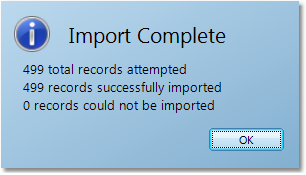
When the import has completed, a box will pop up telling you the number of records that were imported (shown below).
