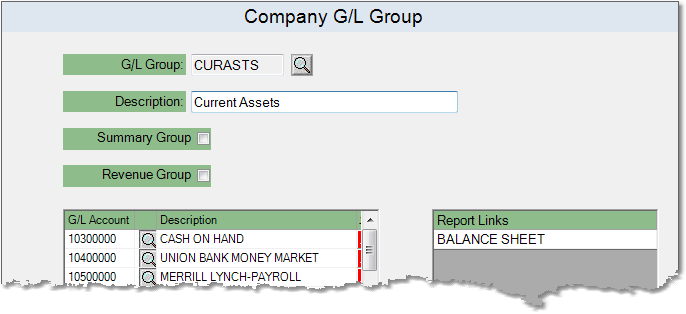
To edit a G/L Group follow the easy steps below. You can use this to add or remove G/L Accounts from the group.
1.Starting from the main screen, select Accounting > General Ledger > G/L Group.
2.Enter the reference code for the group in G/L Group field and press Tab, or use the ![]() to search for the correct code.
to search for the correct code.
3.Click the Edit button in the bottom toolbar.
To add a G/L account, click in the G/L Account field, enter the reference code for the account and press Tab, or use the ![]() to search for the correct code.
to search for the correct code.
To remove a G/L account, click the ![]() to the right of the account. This will remove it from the G/L Group.
to the right of the account. This will remove it from the G/L Group.
Click on any field in the example below for more information.

4.Make any necessary changes to the group, then click the Save button in the bottom toolbar to re-save the group to the system.